
I don't know about you, but I just love all the Coral and Shell decor that I've seen in all the catalogs lately!
The minute I saw this one in Pottery Barns catalog, I knew I wanted to try to make one.

Pottery Barn
I love the texture, the color and the small mitered flange that outlines it like a picture frame.
I had to think about it for a few days to come up with how I wanted to add the texture to my pillow. Then I came across this fabric at JoAnns in the clearance section.
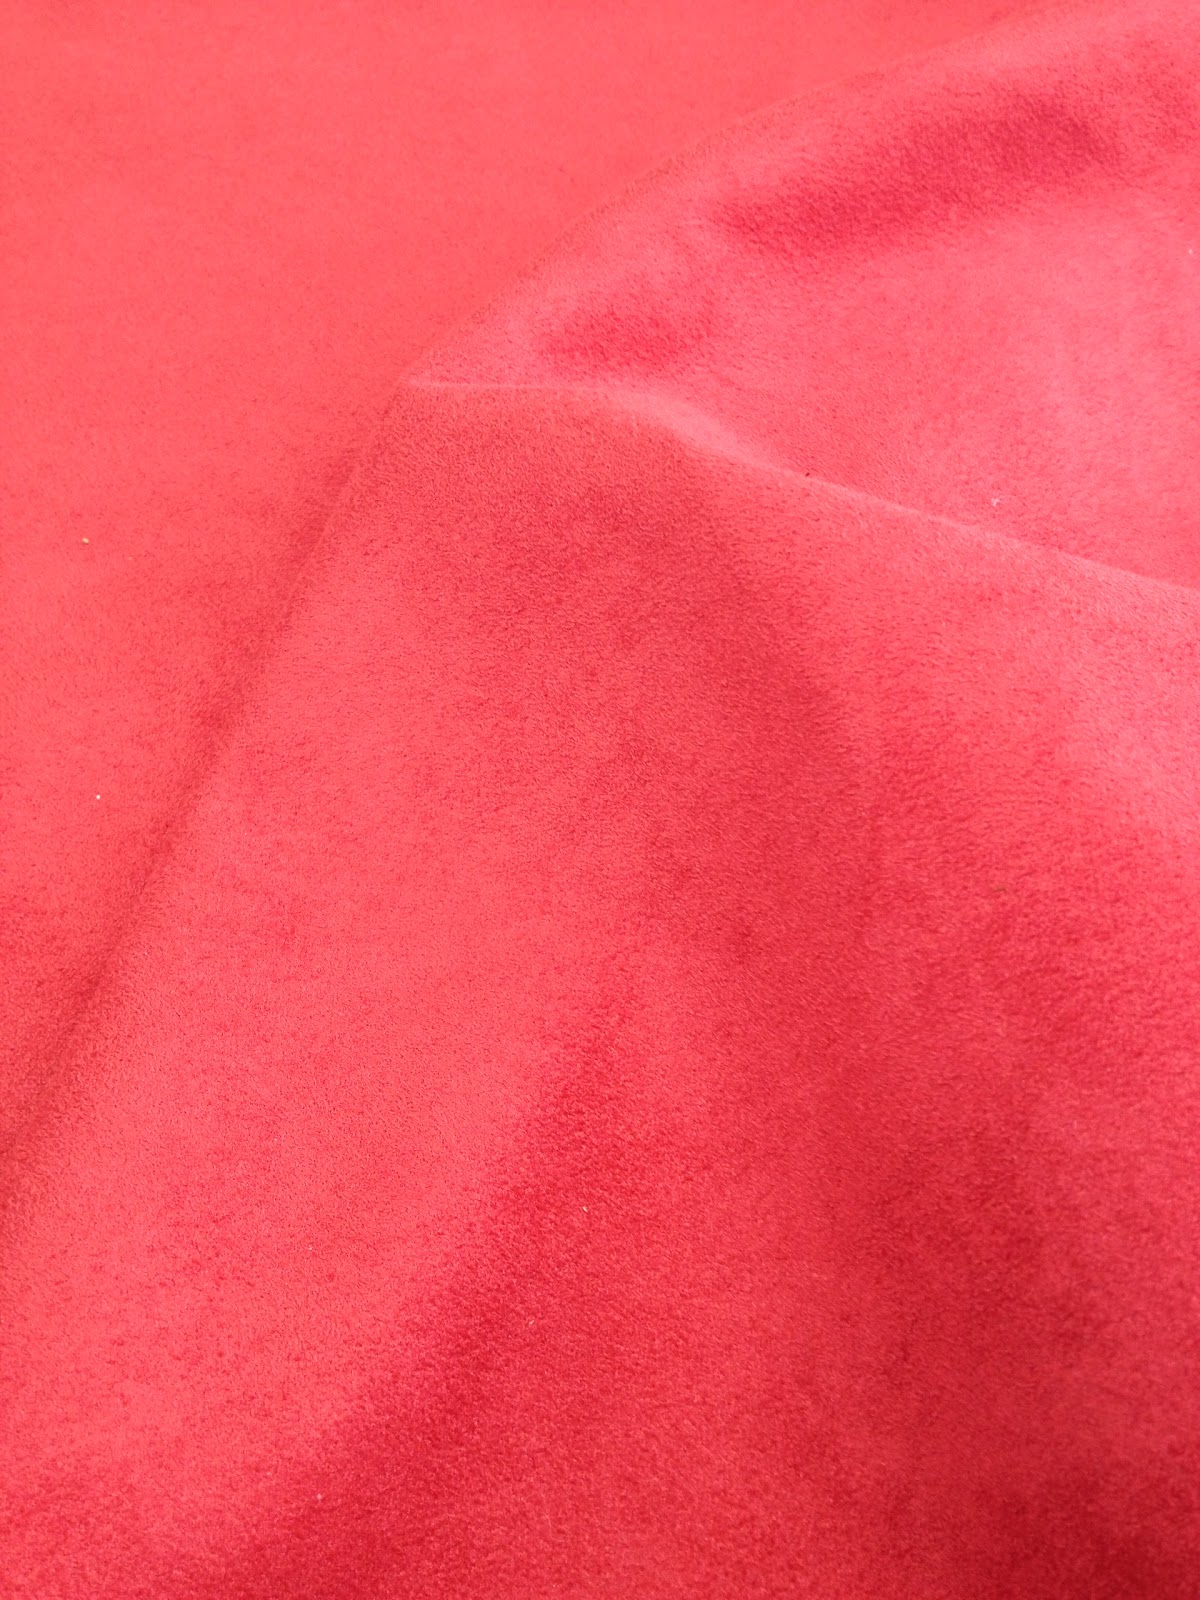
It's a micro fiber suede. It was on clearance for $9.00 a yard and I had a 40% off coupon. Doesn't get better than that!
My drawing skills are pretty good, but my 15 year old sons are even better! I used a large piece of paper and drew a large square the size I wanted my pillow to finish at...20". I showed my son the picture of the pillow in Pottery Barn's catalog and asked if he could draw me some coral like that. He divided my 20" square into 4 squares to help him get the scale right. It took him about an hour and this is how it turned out.

I knew the micro fiber suede would not fray too much and so I decided to use an iron on adhesive. As you can see, I got this one at my local thrift store for a whole .25 cents.

The HeatnBond is see through enough that I was able to lay it on top of the drawing my son made and trace the coral shapes onto the paper side of the HeatnBond.
Following the manufacturers directions I ironed the HeatnBond onto the back side of my fabric.

After cutting out all the coral shapes with a sharp pair of scissors I peeled off the paper backing.

Using the original drawing my son made, I carefully placed all the coral pieces on a piece of off white fabric that I cut 21x21 inches square. I used a few pins here and there to keep it from shifting as I ironed it to the pillow fabric.

Once the coral was set on the front of my pillow fabric I finished constructing the pillow like this:
So as I already said, I cut my pillow front 1" bigger than the finished size (20"), I cut it 21x21". But since we're adding a 1/2 inch mitered flange to frame out the pillow, we can not do the zipper at the very bottom of the pillow. The zipper will land slightly above the mitered flange at the bottom of the back of the pillow. Cut your back 21x21" (the same size as the front) Then cut another piece 21x2".
You can use a store bought zipper, but I always use zipper by the yard, so my instructions will be using zipper by the yard. And since I'm using zipper by the yard, I will need 2 zipper stops. I make them out of fabric so I'm never stitching across the zipper teeth with my sewing machine needle (which will dull the needle)
My zipper stops are about 2 1/2" long by about 1" wide.
Here's what my zipper components look like:

Fold under 1/2" on one of the zipper stop and lay it on your zipper end by 1/2". Stitch right next to both sides of the zipper teeth.

Leave the other end of the zipper free for now.
Place the long edge of the small back piece right side down on the zipper aligning it with the edge of the zipper tape.

Stitch close to the zipper teeth. Pause 3-4 inches from the end. Fold under 1/2" on remaining zipper stop and line it's raw edge up with the pillow end. Cut the zipper off allowing 1/2" to go past folded end of zipper stop.

Slip the zipper stop under the pillow back piece against zipper and finish stitching to the end. When you open it up, it should look like this.

Add your zipper slide to the zipper.


Now once you have your slide on your zipper, slide it down to the center of the zipper.
Place the other back pillow piece along the other side aligning it with the zipper tape. Stitch close to the zipper teeth.

Lay it out flat right side up and then fold the fabric over the teeth of the zipper to form an overlapped zipper. Your fold should just go slightly beyond the zipper teeth, just enough to cover the zipper teeth.


Line the right side of your zipper foot up with the left side of the zipper teeth and stitch.

With wrong sides together, lay your pillow front on top of your pillow back, lining up the edges. The top edge on your back piece may be a little bigger. Trim the excess off.
Cut 2" wide strips of your coral fabric to use as the mitered flange frame. I cut 2 of these the width of my fabric x 2".
Lay one strip face down on the front of your pillow extending the strip past the starting pillow edge. Start stitching 1/2" from the beginning corner using a 1/2" seam allowance.

Stitch to the end stopping 1/2" from the corner. Back stitch and remove from the machine.

Using a clear ruler, make small marks on the strip at 1/2", 1", and 1 1/2".

Hopefully your clear ruler has 45 degree angles on it. Line the 45 degree angle up with the long edge of your strip and draw a line to the 1" mark on your strip. The line you see going across my strip is not the 45 degree line, it is the 30 degree angel line. ( Didn't want you to get confused on where to line up that line)


Fold the strip slightly beyond the point of the "V" and pin. Notice my lines do not go all the way to the edge of the strips. Pin. Stitch through both layers following the "V" and not stitching beyond it.

Turn the corner of your pillow and starting right where the stitching of the "V" ended, stitch the strip to your second edge of the pillow.

Again, stop your stitching a 1/2" from the end, back stitch and remove from the machine. At this corner you will probably need to join the other strip. Although your strip may be long enough to go around the corner, it probably isn't long enough to make it to the next corner, so we will put our seam here where it will never show.
Draw your 3 marks at the 1/2", 1", and 1 1/2" again. And again, draw your "V". Trim the strip about 1/4" past the point of the "V". Seam your next strip to this strip using a 1/4" seam allowance.
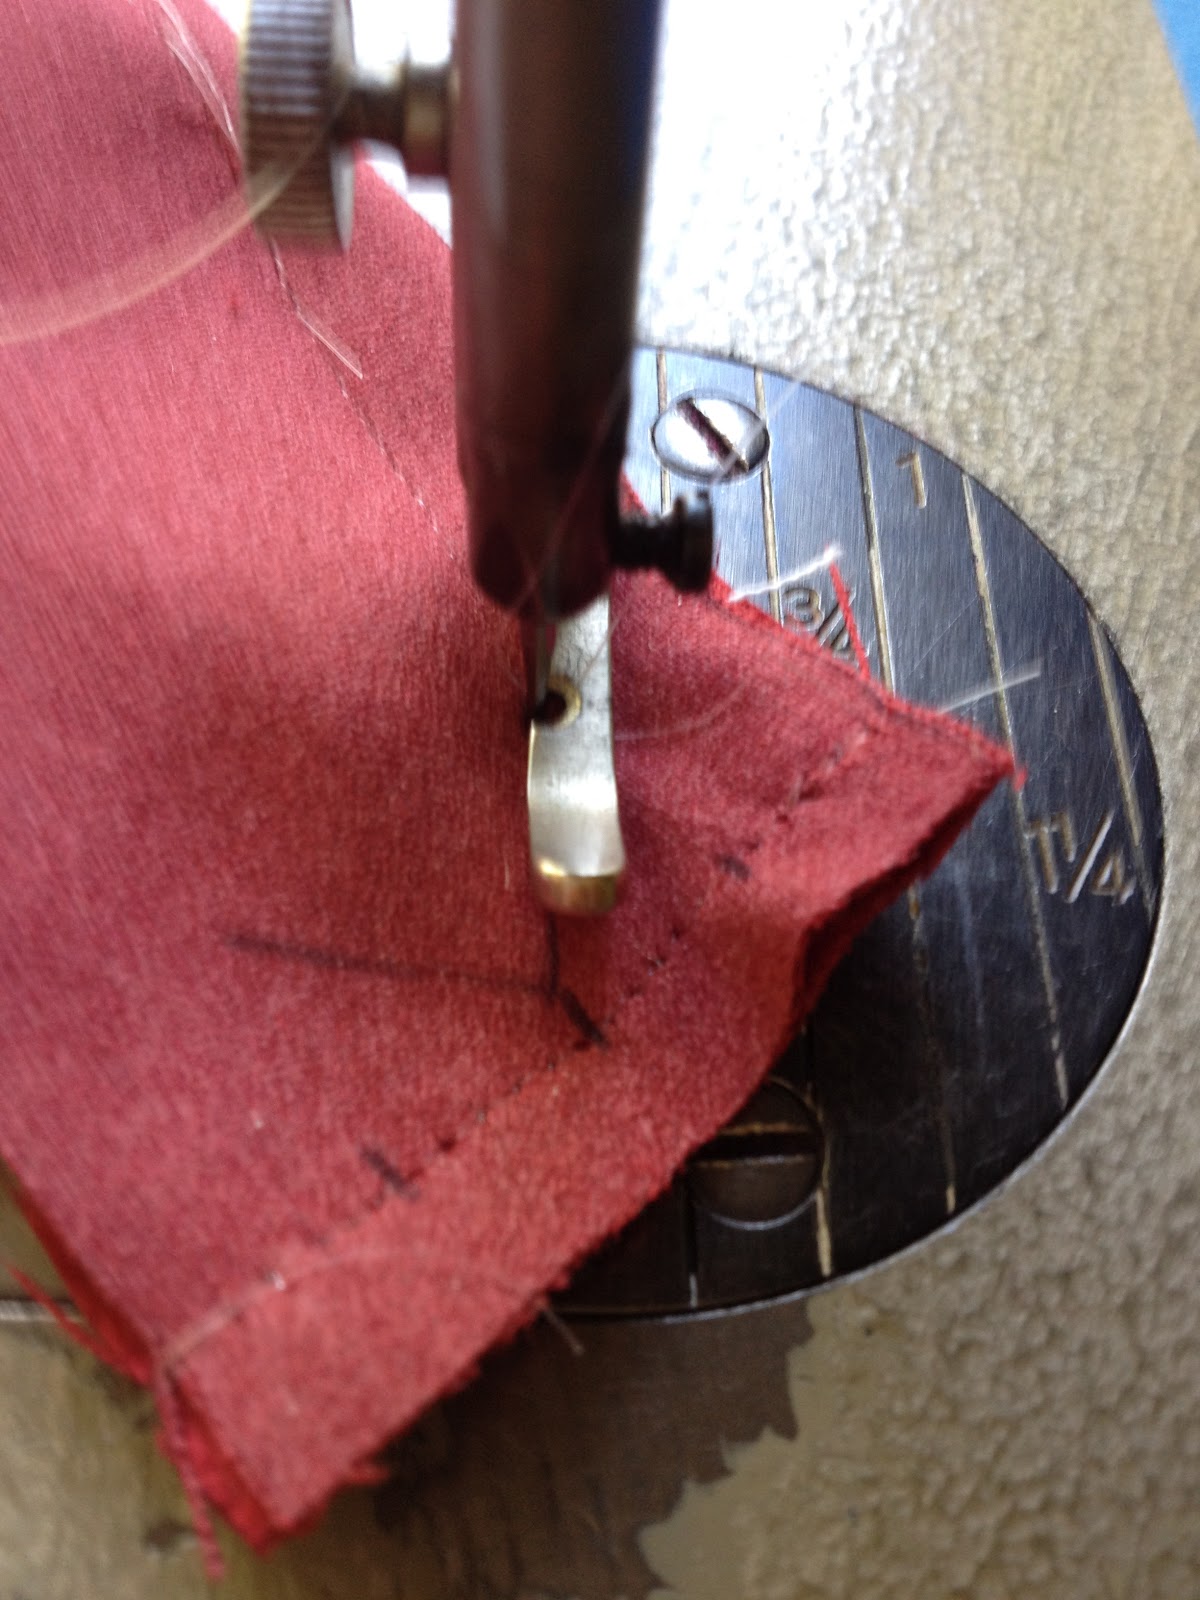
Stitch your "V", trim the seam allowance to 1/8". Turn the corner and continue on like this around all 4 corners.
Once you have sewn your strips around all 4 edges, trim the seam allowance along the "V" to 1/8" also.

Turn the strip right side out, pushing the points of those "V"s out to make a nice sharp point.

Press the corners flat along your pillow edge. You will begin to see the mitered edge taking shape.

I had to trim my seam allowance around my pillow to 3/8" because my fabrics had so much bulk that folding this mitered flange to the back was getting too bulky.
On the back side of your pillow, turn under 1/2" along the remaining strip edge and pin all along your pillow.
Hand stitch this edge to the pillow back, making sure your stitches do not show on the front.

Stuff your pillow with a pillow fill and you are finished!!!

What do you think? Not so hard huh?!
The most challenging part about this pillow is the mitered flange and even that wasn't so hard once it is broken up into steps.


